The following will give you a good start on fermenting food. It tells you what preppers need to know about fermenting food. From here, you can decide if this is a prepping procedure you want to pursue!
* What Vessels Are Good for Fermentation?
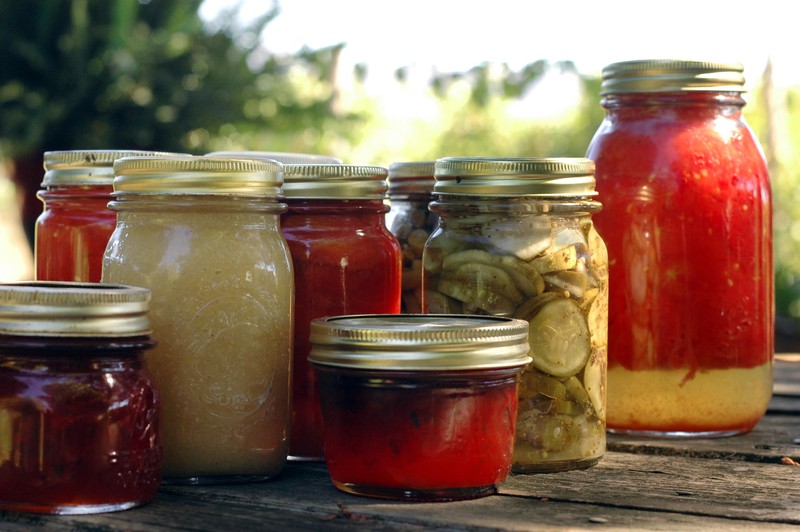
Two of the best vessels to allow your food to ferment in are glass canning jars and stone crocks. You absolutely do not want to use plastic because chemicals can leach into you foods. Metal aren’t good either because the salt corrodes them.
If you choose to use canning jars, use the wide-mouthed variety. You need to use your hand or a tool to pack the veggies tightly. Self-sealing jars are ideal because they lock the air out.
If you use stone crocks, use ones that are glazed inside and, preferably, have airlocks with a release system. You can buy these online and they help you control the fermentation process by making the environment anaerobic. That being said, you can use a standard stone crock. Just make sure that the vegetables are weighted so that they stay submerged so that they ferment, and covered so that bugs can’t get into the brine.* How to Ferment Your Food
Now we’re getting down to the good stuff.
There is no blanket recipe for fermenting foods because some veggies obviously already have a lower pH than others.
These foods won’t need as much salt. You’ll also see recipes that call for whey or a starter.
Both of these are to add extra bacteria to get the fermentation process started.
The veggies will do this on their own if you ferment them correctly, so you don’t necessarily need them. Salt is used for preservation.
There are a couple of different ways to begin the fermentation process: You can make salt water brine, or you can salt the produce and use the natural juices from the produce to make the brine.
If using salt brine, simply add 1-3 tablespoons of salt per quart of water. Pack veggies tightly into container, cover with brine, weight the veggies with a heavy plate (you can add a freezer bag full of water to the plate to help weight it if you need to, or a sterilized rock), then let it ferment as follows.Here are the steps for using the natural juices.
1.Choose your vegetables. Use only organic produce to ensure that there are no chemicals and the good bacteria can flourish.
2.Begin by chopping or slicing your food in whatever manner suits you, as long as the brine can penetrate. Are you going to eat it as a relish or in the form of slices on a sandwich? Prepare you food according to what you’re going to use it for.
3.If you’re using whole vegetables, pack them into your jars or crock. If not, salt your vegetables in layers as you slice them to draw out the moisture, then squeeze, knead, or mash the juice out of your produce and place it into your fermentation container. This will be your brine.
4.The amount of salt you use depends on the product, but a good rule of thumb is to use 1-3 tablespoons per quart of food or brine. Any type of course sea salt (gray, black, pink, or red), or Himalayan Salt is a good choice if you don’t want the food to taste super salty.
You can use whatever salt you like as long as you make sure that it’s pure salt – no anti-caking agents or any additives. As long as you reach the proper pH, the level of salt is a matter of personal taste. Salty sauerkraut may be fine, but you don’t want your chutney to be so overpowering. Experiment to find what you like.
5.Tightly pack the food into a fermenting crock or jar and cover completely with the brine.
6.Add the airlock lids or, if you’re using another type of container, weight the food with a plate or whatever you want to use (not plastic) so that the food stays under the brine. The liquid, and even the veggies, will likely expand during the process, so prepare for that.
7.Let the veggies ferment and ripen for 7-30 days in a dark place at room temperature. When they process is complete, refrigerate, vacuum can, or store in a cool, dark place. Fermented foods can keep for months.
There is more to know and you can read up on them over on Survivopedia.
It is suggested you smell and taste your fermenting vegetables on a daily basis. Once they have fermented to the point where you are happy, place them in a dark cellar or the refrigerator.
If it seems they have gone rotten, the process obviously did not work and you need to dispose of your effort. That can happen – just try again!