First thing is first. You need a list of supplies, a plan, and some clear direction to learn how to keep your energy bill down and the heat from rising as much as it likes to. Look below and get started on this money saving project for your bug out cabin!
Supplies needed for this project:
Mask – If you have loose, blown in insulation I highly recommend the 3m changeable filter mask.
Long Pants
Long Shirt
Gloves
Glasses
Spray foam – I used 8 Great Stuff and 1 Daptex because I had it.
Possibly:
Caulk Gun
Fire Caulk
Utility Knife
Scrap metal (flashing, drip edge, recycled scrap)
Foam Insulation Board or Recessed lighting Covers
Self stick weather stripping
2 Draw Hasps (for attic hatch)
A few pieces of scrap wood to sit/lay/stand on.
How to save on energy with your supplies:
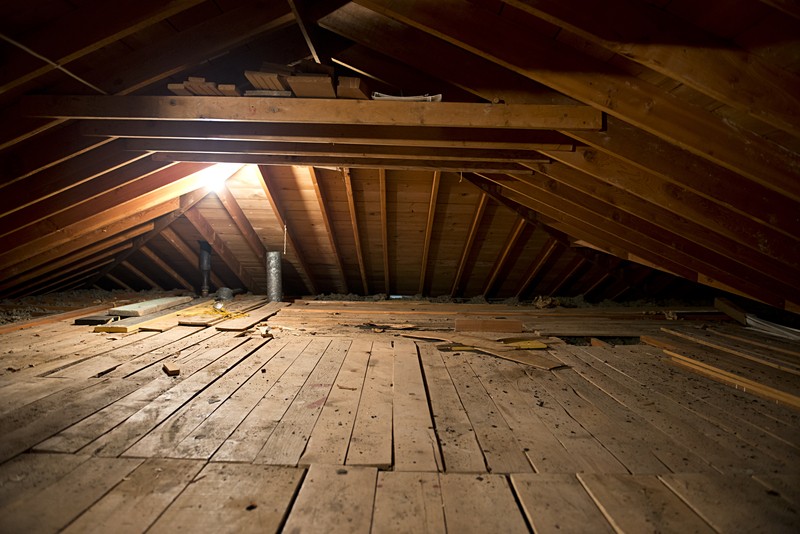
Hot air rises and carries with it dust particles that find their way into your attic. Your insulation acts as a filter and traps this dirt. You will be able to spot leaks by finding dirty insulation. This will be on insulation that sits on the attic floor. I was skeptical at first – until I found an unusual amount of dirty insulation all over my attic. Places to look: the tops of walls, drilled electrical wire holes, electrical outlet boxes for lights, pipes, recessed lighting, bathroom vent fan, chimney flashing, dropped soffits over lighting, cabinets, and slanted stairway access.
Look for the interior wall top plates. Start in one corner and work your way out. Find the dirty insulation and follow it. Push it out of the way. Follow the gaps with a good bead of spray foam.
Find the lighting electrical box for each room and cover it with a dose of spray foam. Find Electrical wires that are penetrating the ceiling. Stick the spray foam nozzle in the hole with it and give it a quick squirt.
Recessed lighting can be tricky. They come in two types – IC (insulation contact) and Non-IC (non insulation contact) It is a fire hazard to have insulation on non-IC fixtures. Unfortunately I had halogen non-IC lights. Basically I had 4 large holes in my living room that not only did not have any insulation on them and were not air tight to the ceiling. If you have a situation like me you can build or buy recessed lighting boxes. I built mine out of R-10 foam board. You need to leave at least 3 inches on all sides of the light. So if you have a 4 inch wide by 8 inch tall light you would 10x10x11 box. Notch a hole for your wire and spray foam around the bottom and any gaps in the box.
The bathroom vent fan is an anomaly. Many people don’t pay much attention to them. Most are installed incorrectly, don’t work properly, leak air and let hot air into your house.
Helpful notes:
They must be vented to the outside – and not just dump into the attic. This causes moisture issues when they run. It also allows the hot air in the attic to be pushed into the bathroom through the vent tube when not in use. Since my house is brick with no access to the soffits I vented mine to the gable vent. Typically they are vented through the exterior wall or the soffit.
Vent pipes need to be insulated. My bathroom vent fan had a flimsy short plastic dryer like vent hose attached to it. It had no insulating value. So even if it was vented properly (which mine was not) summer heat would penetrate into the bathroom through the vent tube. My suggestion is to buy some insulated duct work from a HVAC supply house. In theory you need as much R value as your attic floor. I picked up some R10 and I plan to wrap it in additional insulation at a later date. This same principal should be applied to your AC duct work if you AC unit Is in your hot attic.
Like recessed lighting bathroom vent fans need a sealed box. Measure and build one out of foam. Leave room to attach your vent. Hit the gaps with the foam.
And there you have it. Invite some friends over to help. At the cost of some pizza and a beverage – and a nice afternoon with pals – you are insulated!
For more information go over to Instructables. Not only will you have the satisfaction of saving energy at little cost, you will know it’s done right because you have done it yourself!
I’ve been a roofer for thirty years, and these are all great tips for insulating and venting your house. A well ventilated attic prolongs the lifetime of the shingles that cover your house and saves you money on the power bill.
Thanks.
turn your attic into a meat drying oven, but if I so much as hear you used it to preserve your “MOTHER” so help me Norman I will swear you got the idea from your dad
I expected this to be pretty lame but it actually has some good tips! Roofing and Construction was the family business my parents operated for nearly 50 years and what I did after school and on Saturdays (+summer vacations) from grade school until my early 20s.
Just air sealing your attic and adding blown insulation will cost a weekend and maybe $1000 and save you WAY more energy than new windows. Unless your windows are single pane, non low E, and have a metal frame, it will take upwards of 150 years for replacements to pay for themselves.