Making your own arrow fletchings is a skill that anyone who hunts with a bow and arrow probably should know.
Here is how.
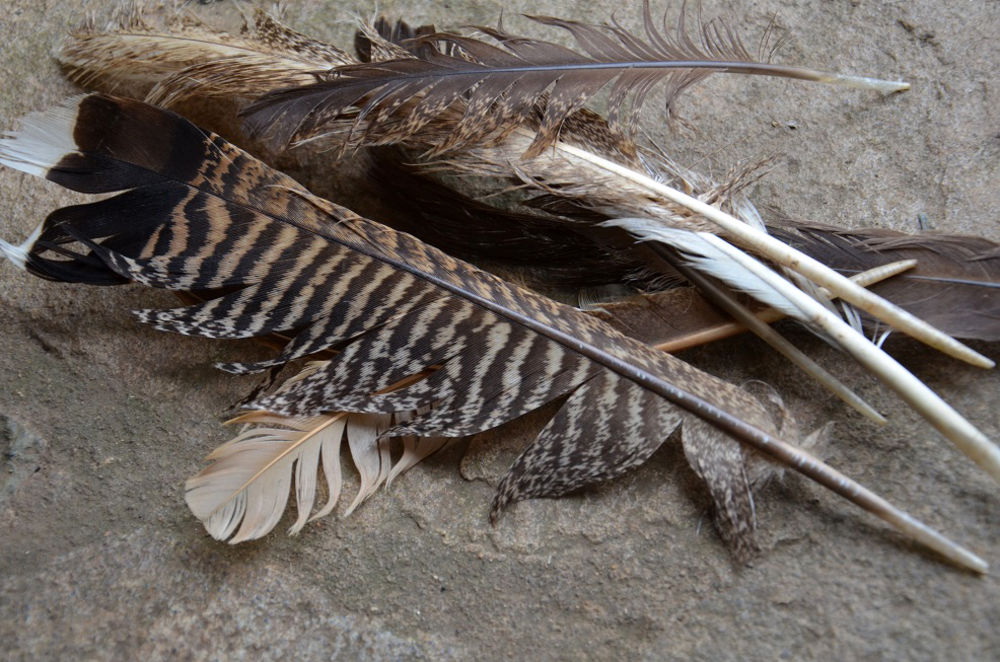
1. Gather some bird feathers and match them up. You have to keep the right wing feathers and left wing feathers separated. They don’t have to be from the same bird, but the curves must match.
2. Pick a feather and clip off the end of the quill (with a knife or scissors). Then split them in half by slicing down the quill lengthwise with a sharp blade.
3. Reduce and even out the quill side of the feather piece. Trim it with a sharp tool, and sand the bottom flat with sandpaper. Make the front edge of the fletching very thin, while leaving the rest of the quill at a medium thickness.
4. Cut your fletching to length and shape. For arrows, you can shorten the fletchings to 4 or 5 inches (11 to 13cm) long and about 1/2 inch (1cm) wide. You may even get two fletchings per side from a long feather like goose or turkey.
5. Space two or three fletchings equally around the nock end of the arrow shaft and glue them into place. I’m a fan of super glue for this. It’s not very traditional, but it’s quick and it lasts a good while.
Some general advice: Bigger is not always better, but you want to have a feather that you can affix glue to without it messing up the barbs and rendering the fletch useless.
You also want to make sure your feather is fairly robust – the feathers of a songbird for instance, because they generally are more fragile, will not hold up as well as the feather from a crow or larger bird.
To learn more about arrow fletching, check out Outdoor Life.
Featured Image via Outdoor Life / Tim MacWelch
Joshua Fortner