Food forests are relatively low maintenance garden plots that utilize horizontal and vertical space to grow multiple types of food.
It does take some planning, though; here are some general tips.
Step 1: Choose Plants
The first step in establishing a food forest is to choose your plants. The largest plants will reach into the sun, so most common fruiting trees and shrubs are fair game. The smaller plants generally need to be more shade tolerant, as they will be in the understory. But you can leave sunny patches here and there—like little forest clearings—to accommodate species that need more light (though see Step 3 for a trick to make the most of the available sunlight).
Winter is the ideal time to get started, because most edible trees, shrubs, vines, and herbaceous plants can be purchased and planted while dormant, which is better for the plants—and for your bank account. That’s because at this time of year they are sold in “bare root” form—meaning without soil or a pot—which gives the roots a more natural structure and costs less for nurseries to produce. Bare root plants are typically ordered in January or February, for planting in early
March, or as soon as the ground thaws in your area. Naturally, you’ll want to stick with species that are well-adapted to your region.
Step 2: Prepare the Ground
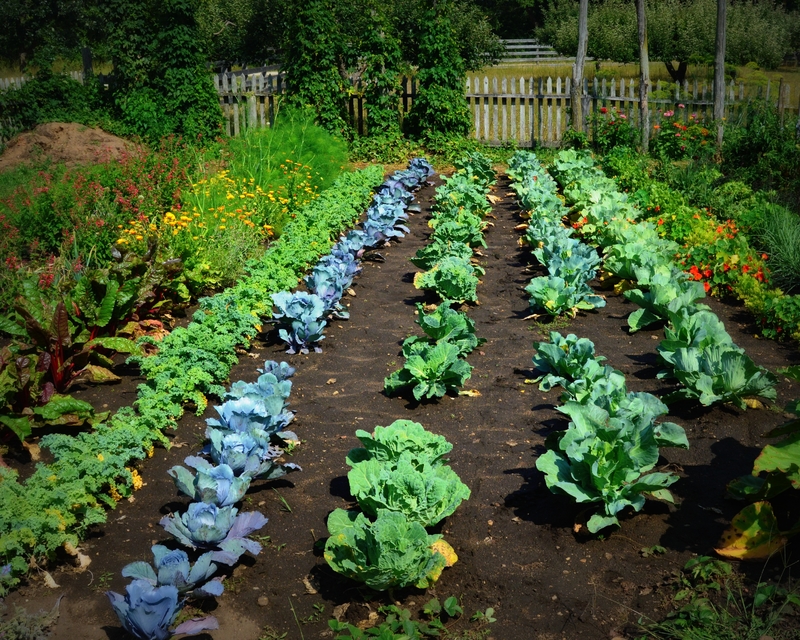
Choose an open, sunny location for your forest garden. It can be as small as 100 square feet—a single fruit tree and an assortment of understory plants—or multiple acres. At the larger, commercial-scale end of the spectrum, forest gardening is often referred to as agroforestry. A number of tropical crops, including coffee and chocolate, are grown commercially in this way, though commercial agroforestry is uncommon in North America (other than in the context of timber plantations).
Unlike preparing for a conventional vegetable garden, there is no need to till the earth and form it into beds in preparation for a forest garden. Instead, dig a hole for each individual plant, just as if you were planting ornamental shrubs and trees.
However, if the soil quality is poor, you may wish to “top-dress” the entire planting area with several inches of compost prior to planting.
One situation in which raised beds are desirable in a food forest is where drainage is poor. But rather than make the effort to construct conventional raised beds from wood, you may opt to sculpt the earth into low, broad mounds at the location of each tree. Smaller plants may then be positioned along the slopes of the mounds.
A variation on this approach is to sculpt the earth into long linear “swales,” which consist of a raised berm (to provide a well-drained planting location) and a broad, shallow ditch (to collect rainwater runoff and force it to percolate into the soil beneath the planting berm).
You will need to eliminate any weeds, grass or other existing vegetation prior to planting. This can be done manually, or by smothering them under a “sheet mulch,” a permaculture tactic in which sheets of cardboard are overlaid with several inches of mulch on top of the vegetation, starving the plants for light and causing them to compost in place. Compost may be added as a layer between the cardboard and the mulch to add extra nutrients. Permaculturists often employ sheet mulching in conjunction with swales to enhance the area prior to planting.
When you’re ready to plant, simply brush aside the mulch and cut holes in the cardboard just big enough to dig a planting hole at the location of each plant. Then slide the mulch back around the newly installed plant. Maintaining a deep mulch is the key to preventing weeds, conserving soil moisture and boosting organic matter—all things that will help your food forest be self-maintaining and self-sufficient.
Step 3: Plant
The next step is to arrange your plants in the landscape. Position the tallest species (i.e. the ‘canopy’ plants) at the northern end of the planting area, with progressively smaller plants toward the southern end. This way the taller plants will cast less shade on the smaller ones, especially at the beginning and end of the growing season when the days are shorter and the sun hangs lower in the sky.
Of course, truly shade tolerant plants may be interspersed throughout the understory of the forest garden. You might even consider cultivating mushrooms in the shadiest zones once the large trees have matured. Edible vines may be planted on any accessible fences, arbors, or walls, and you can also train vines up trees, just like Mother Nature does—just be sure the tree is significantly larger than the vine to avoid the tree getting smothered.
Food forests are a great way to maximize growing potential in a smaller area.
You obviously cannot do it with every type of crop, but if you plan your forest out, you can ensure from “roots to treetop” food availability.
To learn more about food forests, including what types of crops you can grow and when and how to plant them, check out Modern Farmer.