Here are some great steps and photos, showing you how to build a comfortable debris hut! Mind you, it takes practice but you will be glad you gave it a try — particularly when the temperature dips at night!
Step One: Build the framework using 2 “Y” sticks and a long ridge pole. Use only solid sticks. Make sure the inside is long enough for you to lay inside.
Step Two: Cover the ground inside with 6-10 inches of dry forest debris such as leaves, pine needles, and dried grasses. This layer insulates your body from the cold ground.
Step Three: Lean solid sticks up against the ridge pole at 45-degree angle to create a “RIB-CAGE” framework. The sticks should not protrude beyond the ridgepole.
Step Four: Cover the entire structure with a layer of branches. These do not have to be strong. This is to create a framework so that the DEBRIS does not fall through.
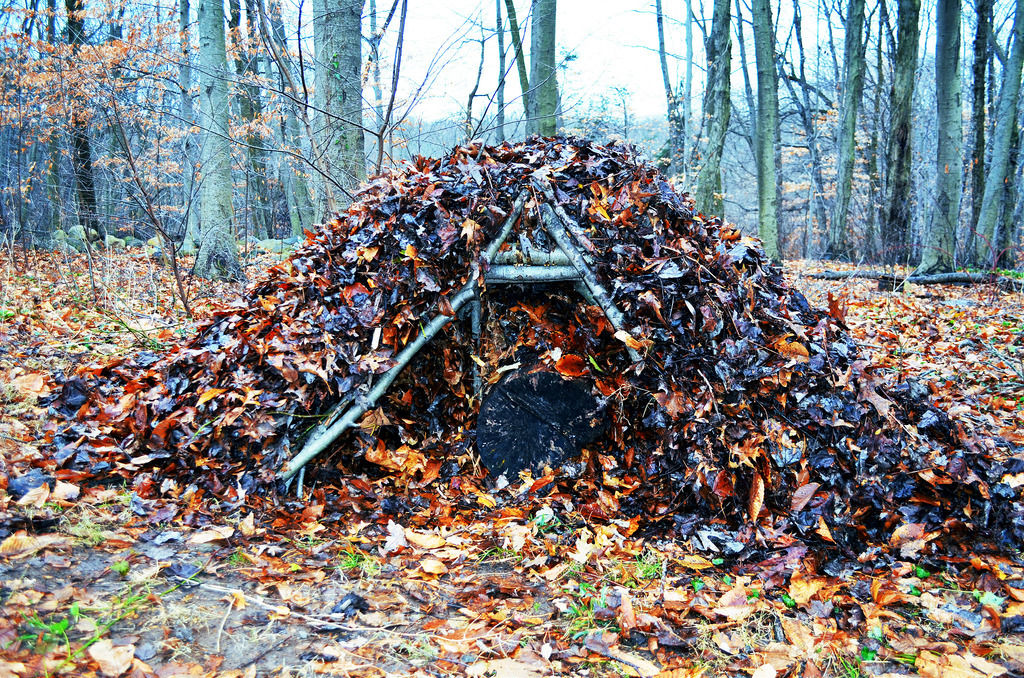
Step Five: Starting from the BOTTOM. Pile forest debris onto your shelter framework. This will act as insulation to keep cold air out and body heat inside. Pile 2-4 feet thick.
Step Six: Crawl into your hut and stuff more forest debris inside to fill the cavity around your body. Then, use more debris to plug the opening in the front.
Undoubtedly constructing a debris hut will take some practice! Personally, we recommend you start during good weather, see what you can do, then gradually move along to colder weather. Before you know it you will be building a debris hut to rival the best!
Sleeping inside a warm, comfortable shelter – one you built with your own two hands! -is the best feeling in the world! But you will not know what it is like until you do it yourself. Start building and good luck!
Read more on Homesteading.
Featured Image via Bush Hacker / Bushcraft USA
I’ve built one. They work.
That looks like my new house! Just moved in.
Yep squirrels utilize leaves for insulation and so can we.
This day in age I would seek a more weatherproof area! Prepair don’t let this happen to you