To get started with this project, there are a few supplies that you'll want to check around the house for. Whatever you don't have on hand, you can easily get at your local hardware store. Plastic bucket (5 gallon preferably with a top/lid), PVC pipe (4 inch 90°), 12 VDC water pump, Computer fan, SPST switches, project box, Cigarette lighter plug, Dryer vent (4 inch), Goop Glue, T-Fitting, Tubing, and Window Screen (black plastic).
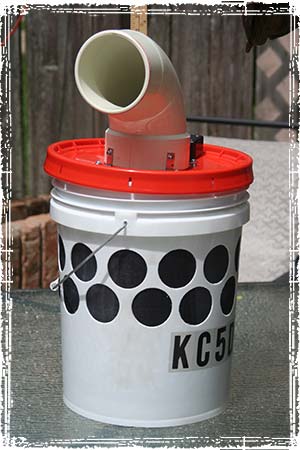
I began with a white 5 gallon bucket and lid from Home Depot. Two rows of 12 – 2 1/8” holes were drilled in the bucket and the plastic burrs around each hole were removed. The holes are drilled around the top, leaving the bottom free for holding water.
After drilling the 24 holes, a razor knife was used to de-bur the holes. Once all the holes were cleaned, a piece of .window screen was cut to match the height and inside circumference of the bucket. The filter material was cut to the same dimensions. The pump was set in the bottom of the bucket and tubing cut to reach the top of the bucket.
At the top, a T-connector was installed and a loop of tubing was measured and connected to the T. In the circle of tubing connected to the T, 3/32’ holes were drilled through the underside approximately every ¾” – 1” for water to flow down the filter. The screen and filter were removed and approximately 2 ½ gallons of water were poured into the bucket and the pump tested.
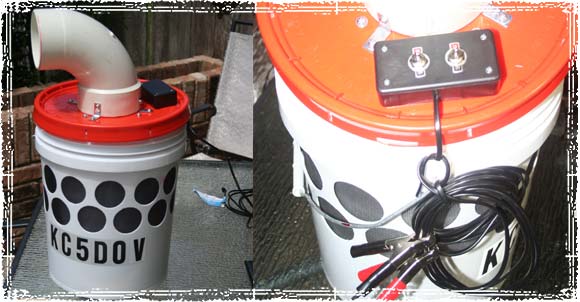
A hole, corresponding to inside diameter of the large end of the 90° PVC was cut into the lid. The fan was centered over the hole and connected to the lid with 4 – #6 screws, washers, and nuts. The 90° PVC was connected to the lid Using 4 – 1” L Brackets, screws, washers, lock washers, and nuts. A bead of GOOP glue put between the lid and PVC 90°, sealing it from any leakage of air.The switches were mounted to the top of the Project Box and then the Project Box was mounted to the lid behind the 90° PVC. A ½” hole was drilled through the box and lid. The pump and fan were wired to the switches with each connection being soldered. The power wires were connected to a longer wire with a fused cigarette lighter plug on the other end for use with our solar panels and deep cycle batteries.
The 90° PVC fitting was connected with “L” brackets and sealed with GOOP glue insuring now air leaks around the nozzle. All connections were soldered and taped with a quality electrical tape. The taped splices with be re-soldered in the future and heat shrink tubing with be installed on the slices. The holes in the project box were sealed with the GOOP Glue.
To get the complete article and view additional photos, head over to Off Grid Survival. We love their ideas, concepts and helpful tips for survivalists.
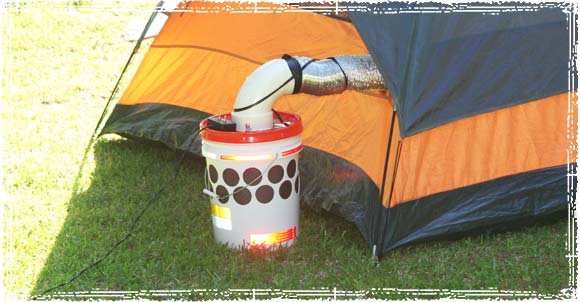
Would You Put A/C In Your Tent?
If you'd be willing to toss in the “Roughing It” towel (the same way were were willing to), let us know! Doing things the bare bone way can be fun, but it's also cool to come up with new, inventive ways to enjoy your experience that involve some brain power and a little bit of elbow grease.
This is a pretty unclear guide and seems to use a lot of American-oriented phrases. Like what is GOOP and “T-fitting”? Wouldn’t the filter be cut to match the diameter, not the height, of the bucket? And why say SPST when other kinds of switch would do anyway? Just call it ” on/off switch” for the benefit of other readers.