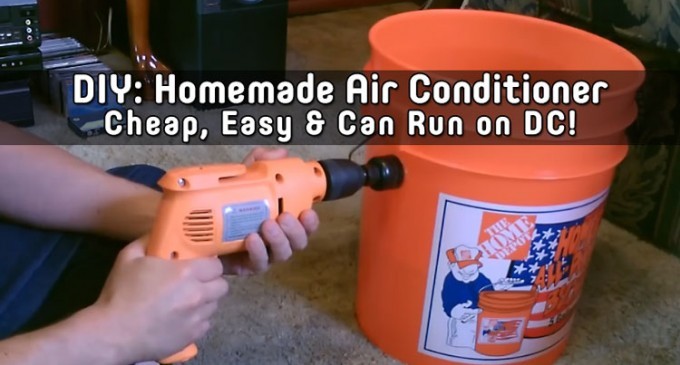
Sure, staying cool usually falls under the heading of a luxury, rather than a survival necessity, but in the some situations, managing a comfortable temperature in your dwelling can be a huge morale-booster. It also helps promote better, more restful sleep and, heck, building a unit like this is also a lot of fun. Don't expect miracles, though. This type of cooling works best on hot, dry air, so if you are in a high-humidity situation, you'll need a different alternative. Obviously you'll also need a power source, but this versatile method will work with an A/C fan or one that runs on direct current, so you can use battery power stored from wind, water, solar, or whatever you have available.
As mentioned, this evaporative cooler works best in drier air. That's because the warm dry air is better at evaporating the moisture flowing through the cooler. That evaporation process uses up lots of the air's heat energy, leaving some nice, cool, moist air.
STEP 1: GATHER THE PARTS
To get started, you'll need to gather these commonly available, inexpensive parts. You don't need anything fancy or expensive and chances are you have some of these tools and materials already. If not, you'll find what you need at a hardware store locally or on Amazon.
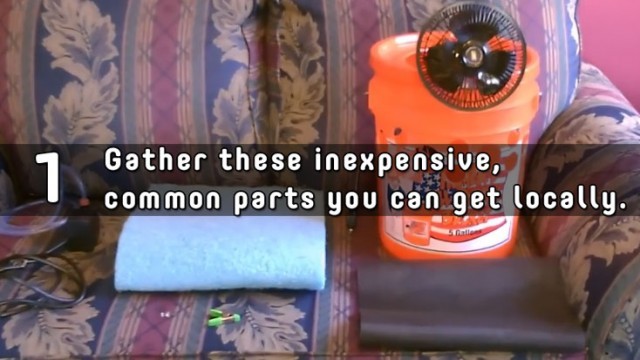
Here's a list of the parts and tools you will need:
- 5-gallon plastic bucket with a lid; you can find one at a Home Depot or a similar hardware or building supply store
- Drill with a ‘hole saw’ type bit. Any common electric drill should work just fine. You can get an inexpensive hole saw set at any hardware store or Home Depot. Since you'll only be cutting plastic you don’t need anything fancy. Both 1.5 inch and 2 inch drills are good sizes to have for this.
- Evaporative cooler pad that is at least 14×31 inches. Dura Cool makes some that are available from Amazon. You can also find them at Home Depot or another hardware store.
- Utility scissors or shears that will be used to cut the pad to size
- Long straight-edge ruler that'll help you cut accurately
- Permanent marker or tape to indicate the maximum water level
- Fiberglass screen as used for windows or screen doors or a garden cloth will also work
- Sturdy utility knife
- Small DC powered fan
- Submersible aquarium or fountain pump (look for a 12 V DC submersible water pump on Amazon)
- About 4.5 feet of aquarium tubing to fit your pump (usually 1/4 inch or 5/16 inch clear vinyl is fine)
- Small clamp that'll be used to pinch the hose
- Have a thumbtack ready
Once you have the parts and tools gathered, the rest is easy. We'll get into the step-by-step specifics after the break and there's even a video to show you exactly how it all goes together, along with a demonstration of the finished cooler.


Nathan Sikes
Tess
Joey Nichols
J.r. Borum
Jennie Shaffer
Will not work in humid area’s
Homemade swap cooler 🙂
Yep made one it works I live in Oregon.
Christina M Williams
I already built a home made one I will see about taking a picture and showing you later
And yes, they do work. Used them in Arizona desert.
Definitely doesn’t work where I live…. southern MS, 100% humidity most of the time
I used a foam cooler, put a dryer vent hose on one end and a fan on the other. Fill with ice, works great. Will even work in humid climates!
Linda Slowey
Cassandra Rose Seward
We can do this. I would love to, win I get the time, and tools.
.
If it was hussein, it would be all muslim brotherhood at a gay bathhouse chanting “allah snackbar”…
John Mayernik keep this in mind.
Hell yea. We got this.
It works in CA, but not that great
Bebianita Trigo Insenada, Yen Garrard have Arnold and Jimbo build these.
Ronald Lutty
Marcy Bird
Yea, saw these last year. Be buying ice out the$#%&!@*tho. Lol
You can fill some plastic water bottles and just refreeze them. Just a thought. I know the heats been killing you ladies.
You can fill some plastic water bottles and just refreeze them. Just a thought. I know the heats been killing you ladies.
They melt within an hour, no joke. We’ve tried it all.
Damn that’s hot.
Carl Cox Jr.
i used$#%&!@*lol Y dont it work in humidity? My ice melts too fast in 90 degrees 🙁
John Neacsu
Lmao
Pierre Baynard
Not an AC. It’s an evaporative/swamp cooler.
Donavan Tebo
Hey sir how decent does it work?My work truck a.c. kee0s going out and tired of being out of a.c. down here in Texas any help is appreciated.Thank you.
Surprised that harbor freight drill didn’t burn up , drilling into that bucket
Very similar to my design that used a 12v fan and ran off battery charged with solar trickle charger… Never really worked as desired… Was still a fun project.
use foam to line the sides of the bucket i made mine like that ice hold for a long time plus using milk jugs and blocks of ice it holds ice longer then smaller cubes everyone in my family laughed till i used it then all sudden people wanted me to make them for them i love mine i use it all the time campn and even in my own apartment
Tawnya Emily Weber
i lined the sides with styrofoam, its super insulated. I hear u! Everyone laughs until they realize they could sure use 1 themselves. I even added insulation to the outside. I use 32 fl oz frozen bottles and switch em out as they melt.
Did not open the article but I could not help noticing it says it works better in dry climates. Apparently it relies on evaporation for cooling period that is cute and all but dehumidification is one of the best parts of air conditioning. That’s why it’s called an air conditioner and not just an air cooler it actually conditions the air
Curious as to the cost to make ice vs cost of electricity for an equivalent ac
Bryce Perkins
Anyone ever try just throwing a bag of ice in there shop vac and using that? I haven’t but I been considering it.
Use block ice
Justin Stead
It works okay. Not as good as a real AC but better than nothing.
Yeska Saenz
so uh…lol…. mow many BTU’s can you get out of that lol