We had many of the materials and tools outlined below on hand. We're unsure what material we want to use for the handle, but once we figure it out we'll be making one of these knives for ourselves. And maybe a few others at the same time to test it out.
-
Angle grinder
-
Files
-
Sand paper
-
Clamps
-
Drill
-
Dremel
-
Grill
-
Coping saw
-
Materials
-
Steel
-
Handle Material: wood, bone, micarta even horn.
-
Pin Stock
-
Epoxy
-
Linseed oil
-
Gloves, respirator, safety glasses!!!
Step 1
First draw two parallel lines on a piece of printer paper that represent the width of your blade steel. Mine is 1 1/4″. Design your knife in between these lines. Once you are satisfied with your design glue it on to a piece of 1/4″ ply and cut it out on a band saw or with a coping saw.
Step 2
Now's the time to make sure you like the shape and feel of your knife. Hold it how you would use it normally and see if anything needs to be changed. Remember too that the handle will be a little wider when you add the scales.
Step 3
Cut close to, but leave the lines if they aren't too thick. You'll grind them down to the final shape later. I took a scrap piece of 1/2″ ply and cut a slot in it the width of the steel. This allowed me to grind the edge of the blade by clamping it in the slot as shown in the pics.
Step 4
With your hand drill or drill press (preferred) and your steel cutting drill bits, drill the holes for your pins. Put some extra holes in it if you want to skeletonize it at this time. this cuts down on the weight a bit.
Step 5
Using the angle grinder and the flap disc shape the bevel. Don't shape to a fine point yet but leave the blade edge about 1/32″ thick.
Using a rough file continue to shape your bevel then switch to a fine file. Still leave the edge about 1/32″ thick.
Step 6
You can use a small grill and some hardwood charcoal to heat treat your blade.
Run a piece of bailing wire (not galvanized) through the handle to make it easy to pull out of the fire. Put the blade right in the hottest part of the coals once you have it going strong. Let it get bright orange (critical) non-magnetic. Stick it back in the coals for a minute or two more. Then pull it out again and immediately dunk it in some oil to cool it (olive, vegetable, motor, transmission etc.)
Step 7
You need to sharpen the blade edge as this was left a little thick in a previous step. Get out your files and sandpaper again and file and polish that baby up..
When your blade is all pretty again wrap some cardboard and tape around the blade. This will protect the blade and you.
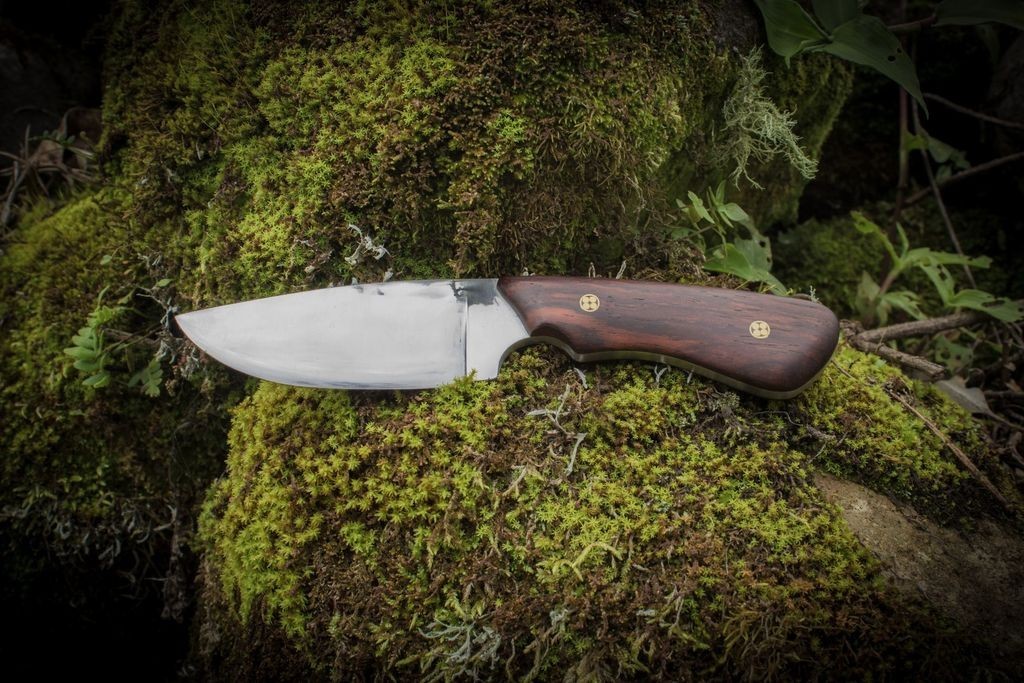
If you bought your scales online then they should already be a suitable thickness. I had bough a 1/4″ piece of cocobolo that had to be surfaced down a bit because I was using 5/32″ steel. Didn't want the handle too thick.
Step 8
Clamp the blade to one of the scales and drill the pin holes. If you have a drill press do it on that. That way your holes will be perpendicular. You can then put some pin material through the holes so it registers correctly and draw around your scales. Cut them out leaving the line with a coping saw or a scroll saw. Finish any of the edges that will be tight agains the blade and won't be able to be sanded later as shown in the last pic.
Step 9
Cut your pins slightly larger than your finished handle dimensions. Dry fit your scales and make sure it will all go together easy once you have the epoxy mixed. Put the pins in one of the scales and epoxy it. Slide the knife onto the pins and then epoxy the other side and pop the other scale on. Put a bunch of clamps on and let it sit overnight.
Once your epoxy is set take off the clamps and shape your handle.Then slightly peen your pins to help hold the scales on.
You can use a rasp, sandpaper and a dremel with a sanding drum attachment.
We love this tutorial from Instructables. In their comments section, you'll also see photos of knives their users made – they look awesome!
Is This Something You'll Try Out?
If you think this is a project you might want to start, tell us! We'd love to see your progress photos and the finished product once you're all finished. Also, we'd be very interested in hearing what material you chose for the handle, as this is something we're still weighing in on. If you have any feedback or tips, please let us know in the comments section below.
Chris?
I enjoy up-cycling old kitchen knives from thrift stores. Easy to find stainless, sometimes good carbon steel for like a buck.
Forged from spring steel just this weekend.
After grinding
Also your tutorial forgot to mention tempering , if you quench any carbon steel and don’t temper you’ll break it in the first hard use. Tempering temps vary by steel.type and alloying elements so make sure when you work with a steel you know how to heat treat and temper as well as if the steel has enough carbon to harden, I.e. 1095, w2, 5160 etc… mild steel (hardware store steel ) won’t harden and you’ll have just wasted a day or two making a knife that won’t hold an edge