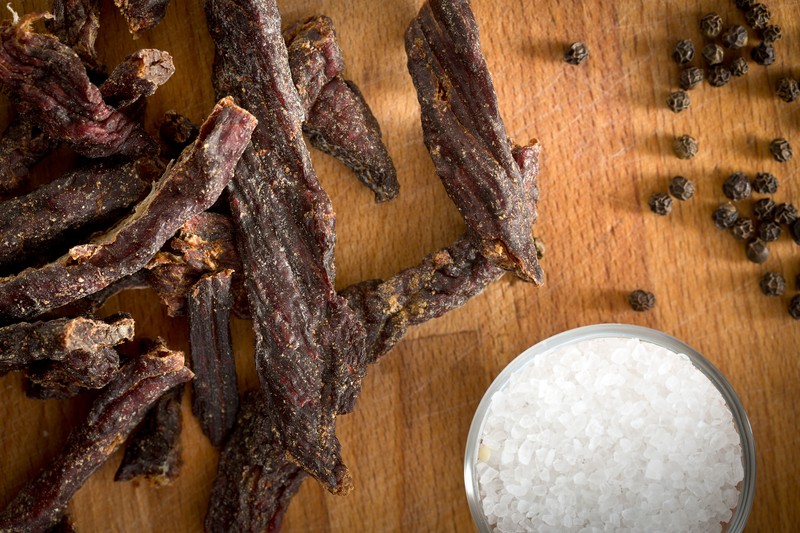
Smoked meat not only has a longer shelf life, it also has a flavor profile that is much more profound than regular cooked meat. Smoking is a great way to compliment the natural flavor of the meat and make any game much more palatable than it would normally be. Check out the tips below to start smoking your own meat today.
Primitive Ways for Smoking Meat
How did our forefathers do it?
The art of smoking meat as a way of preserving it probably started many thousands of years ago. An early tribesman would simply hang out meat to dry. The lack of chimneys in ancient caves and huts often made their shelters smoky. Early people realized soon enough that hanging out meat in such smoky places made meat acquire a different flavor and meat was also preserved for longer periods of time.
Over time, early people also discovered that adding salt (curing) to the meat also increases its shelf life dramatically. Thus curing and smoking became popular and passed on from one civilization to the next.
Types of Meat Smoking
Cold Smoking
Cold smoking is a way to get smoke flavor into the meat without necessarily cooking it.
1. First, the meat is hung up to develop a pellicle.
2. Second, the meat is dehydrated, but not fully, by the smoke. Curing should also accompany the process and the heat should be set at about 20°-30°C, that is 68°-86°F.
Properly prepared dry cure meats can be safely stored at room temperature.
Hot Smoking
Just like cold smoking, in hot smoking the meat is also hanged and then smoked. Hanging it makes it develop a pellicle. The main difference between cold and hot smoking is the temperature used when smoking. In hot smoking, the temperature ranges between 52°C and 80°C, that is 126-176°F. Although, hot smoking is generally followed by cooking, hot smoked food are already edible. At that temperature, the meat is cooked, moist, flavored and can be eaten as long as it was smoked evenly.
Smoke Baking/Roasting
This is when you combine smoking with baking or roasting. The optimum temperature of smoke baking/roasting is about 121°C. It can be referred to as barbecuing, pit roasting or pit baking. To smoke your meat this way, you need a smoke roaster. Other things you can use include the barbecue pit, closed wood fire or masonry oven. You could also improvise with other ovens as long as the temperature can get as high as 121°C.
You could also do smoke baking/roasting in your oven. You only have to place a pan filled with hardwood chips beneath the meat in the oven. As the temperature rises, the chips would begin to smolder and the smoke would envelop your meat.
Wherever you choose to do this, always ensure proper ventilation in other to avoid poisoning from carbon monoxide.
How to Dry Meat in 4 Simple Steps
Step 1: Trim off the fat from the sides of the meat
This will make for more quality and better preservation. When you trim off this fat, you might want to store it somewhere as you may find useful in flavoring other foods, or, for more resourceful people, creating a second survival food called “tallow”.
Step 2: Cut the meat into thin strips along the muscle fibers
This would allow for even drying time of the meat. You should try to make the strips as long as possible. When cutting, please remember that the meat will shrink to up to 70% of its present size; let that guide your decision about what width and length you want your cut strips to be.
Short strips would take more space when hanged to dry, while meat strips that are too long may break because of the weight. Also, thicker slices would require longer drying time because it takes longer for the inner moisture to get to the outer layer where it can drip or evaporate. This is why you should ensure your meat is cut into strips of similar thickness. If they have similar thickness and they are evenly spaced you can expect that they will all get dried at about the same rate of time.
Cutting can be done while the meat is suspended on a hook or on a chopping board, depending on which is preferable or available.
Step 3: Dip the Meat into a Salt Solution
Dipping meat into a salt solution does three things to your meat: It adds to its flavor and taste, it prevents bacterial growth and it also helps to extract moisture from your meat. In addition, it also repels insects that would be attracted to your meat when you start drying it. These insects can cause damage to your meat as they try to feed on its moisture.
But when you have salted the meat strips adequately, you will not have to worry about that.
The salt solution should have about 14% concentration. Just dissolve table salt in warm water and stir. The meat can then be dipped in the solution for 5 minutes before drying.
Step 4: Suspend the Meat to Dry Outdoors
There are a few different ideas on how this can be done.
Metal hooks: You can use metal hooks made out of galvanized wire. Simply cut the wire in a way that it can easily pierce the meat. With the aid of these hooks, you can then suspend your meat strips on a horizontal stick, rope or wire. Ensure that you hook from the heavier/thicker end to ensure stability.
Loops: A thin string or thread is what is needed here. The strings should be divided into 30cm long pieces with knotted ends. You can then attach this string to the thicker end of your strips via double loop. Make the loop firm to ensure balance. You can see here for more details and pictures.
Metal Clips: This is probably the best way to suspend your meat strips. Make sure the metal clips are 4 – 7cm in diameter. You can simply attach the clip to the heavier end of the meat strip and suspend it via your horizontal rope. You can use this for any type of meat strip and be confident that the edges of your meat won't end up folded or curled when dried.
Note: Do not just place your meat strip over wires, ropes or tree branches. This will not allow for even drying because some parts will get too much sun while other parts are shielded. The meat would also be exposed to dust, rain, storm, insects and even birds and bird dung from tree branches up above.
Instead of just spreading the meat like clothes hung out to dry, set up your own meat drying system with homemade equipment using any of the tools or combination of tools mentioned above.
Packaging and Storage Dried / Smoked Meat
To preserve your dried meat, place similar length strips into plastic foils or cellophane. There are other things used for packaging but any of those two should do just fine. You could use transparent cellophane or plastic, that way you can easily observe the quality of your dried meat from time to time.
When you smoke your own meat, you no longer have to worry about any preservatives that may be added (kinda sounds counterintuitive, but they do it). You are also able to make use of much more of the animal that may be wasted otherwise if you were unable to store the meat. This is especially the case for large animals like deer and elk. Play around with this trick and you can use different wood smoke to create different flavor profiles.
If you liked this trick, check out the entire original article at Secrets of Survival.