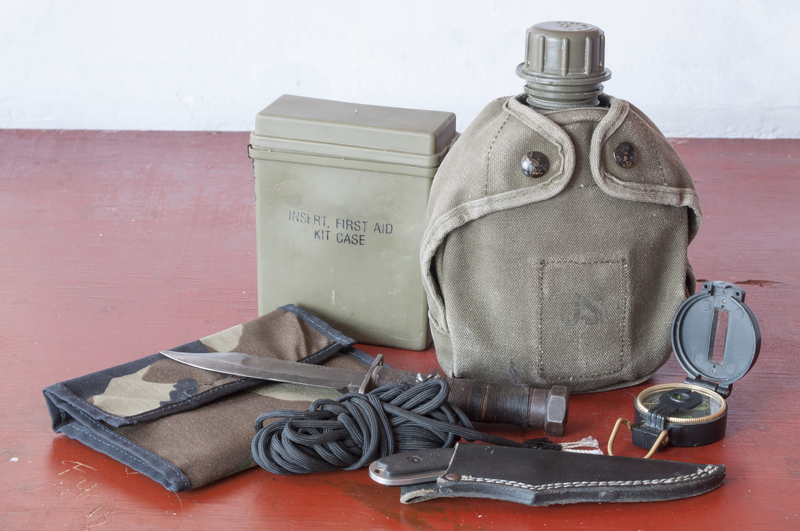
Your blade is your most important survival tool in just about every situation you will face.
Keeping it well maintained and sharp ensures it can do what you need it to do when you need it to perform; here is how.
De-stressing the metal
The very first step is called de-stressing the edge. The steel at the edge of your dull knife is weak and essentially ruined from the abuse it’s received over time. It’s important to get rid of this damaged steel in order to reveal the fresher, stronger steel that lies beneath.
To do this you must take the knife and draw it through your sharpening stone which will blunt the edge, as well as expose good steel. Hold the edge perpendicular to the stone when doing this and use very, very light pressure.
Determine your sharpening angle
This next step involves finding what angles to sharpen at if you don’t have any specific tools for doing so. You can test how thick or thin your knife needs to be based on your own use and how it ends up after you initially sharpen it, but for now let’s start at 15 degrees per side.
How do you measure 15 degrees? Take a piece of paper, each corner is a 90 degree angle, if you fold that angle at the corner in to thirds you will have a wedge that is a total of 30 degrees. Half of that is 15 degrees. This will be the angle you want to hold your knife against the stone while thinning out behind the edge and creating a bevel.
Use the sharpening stone
To start begin abrading the full length of the edge along a coarse stone (about 220-350 grit is probably fine) which is relatively flat. I recommend doing an even amount of strokes on each side if the bevels are already equal, otherwise you will have to use your better judgment as to how much steel must be removed to make the bevels equal.
Start out by making sweeping strokes using as much surface area of the stone as possible and working in sections as necessary, making sure to maintain the same angles even at the tip, and making sure not to let the tip of the knife slide off of the stone, this can cause rounding or even chipping of the tip of the blade. Relatively light pressure is all you should need, with the stone doing much of the work.
Eventually you’ll know when to stop at this stage on both sides before creating a “burr”, but for now just abrade material until on the other side of the blade there is a tiny burr developed.
A burr is a thin strip of abraded metal which accumulates on the side of the blade opposite the one you’ve been grinding on. You can generally slide your fingernail off the edge and the burr will scratch your nail. Once the burr is created on one side, drag the knife through a piece of wood a few times to knock the burr off or reduce it, and then ensure the same is accomplished on the other side (developing and removing a burr).
Applying the micro bevel
Once the primary edge bevel has been created, you will have to apply a micro bevel. This is the part of the “edge” that is doing the actual cutting. The bevel portion is just there to be thin and look pretty. The micro bevel will also serve to remove any fine burr still left over from the previous step.
To apply the micro bevel to the primary edge you’ve already created, take one of the more coarse stones you’d used when making the edge bevel, and begin with that.
Using strokes across the whole if not most of the blade, make edge leading strokes at a slightly higher angle than the one you’d used to create your edge bevel.
For most people 20 degrees is ideal, but just raising the spine of the blade a hair above that angle guide made in earlier step works just fine.Stropping
Stropping an edge is generally the final step, it will hone (and sometimes sharpen if you use abrasives on your strop) an edge and align the teeth created by the scratches from the stone this can be done with a piece of flat cardboard, newspaper, blue jeans, or commonly a leather belt (though using a proper strop is recommended if available).
Instead of using edge leading strokes as though you’re trying to shave off a piece of whatever you’re doing them to (the sharpening stones) instead you will drag the edge backwards over the strop, alternating sides with each stroke and using a light touch, this will leave the edge performing just a little better than it did before, with a higher level of keenness.
The key to making it through a survival situation is innovation, but almost as important is eliminating as many impediments as possible before they bog you down.
One easily eliminated impediment is achieved by keeping your blades well maintained and in good condition; keeping it sharp is part of that equation.
To learn more about keeping your knife in “survival condition,” please visit Knife Informer.