You know, as a prepper, this is a great idea. When the world goes off the grid you and yours will still get the relief you need after weeks and months of back-breaking labor! Now, here is how to make your own gel ice pack!
1 gallon zip-style plastic bags (I like these)
4 cups water
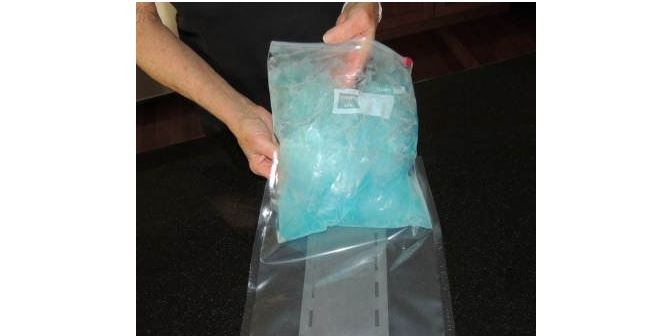
2 cups Isopropyl/rubbing alcoholFill the plastic bag with rubbing alcohol and water. If desired, add a couple of drops of blue (or other) food coloring. The purpose of the food coloring is to distinguish your ice pack from frozen drinking water. (You do use the empty space in your freezer for water, right?)
Set the bag in a bowl (I used a large Pyrex measuring cup like this one) and place it in the freezer for an hour or two.Remove the partially frozen bag and squeeze out as much air as you can. Return to the freezer and keep it there overnight or until it becomes slushy/firm.
Just a quick not to say that author recommends removing the air from your ice pack when it is beginning to set. If you do it too early you might have a mess on your hands!
A big “thank you” to Backdoor Survival for this great DYI. We are going to try this ASAP!
Featured Image via Backdoor Survival
Blue meth