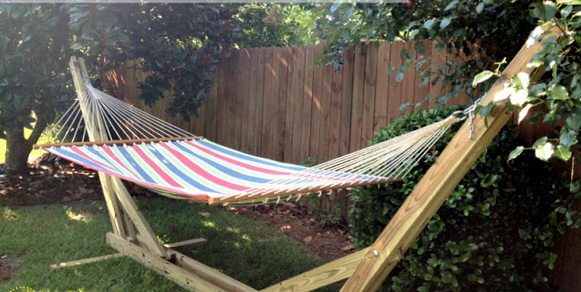
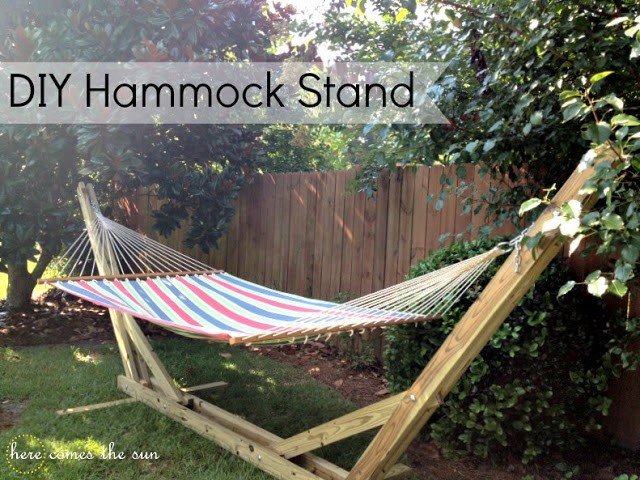
This awesome project will accomplish three things.
First, it is an incredibly sturdy hammock stand for those lazy summer afternoons.
Second, it is inexpensive to make – the materials cost around $40.
Third, because the making of it is simple, the end product will give a sense of accomplishment and confidence in constructing other things that many people lack – but only because of inexperience.
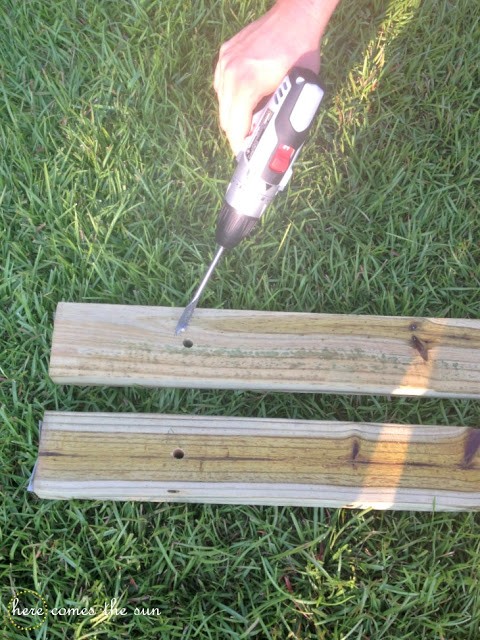
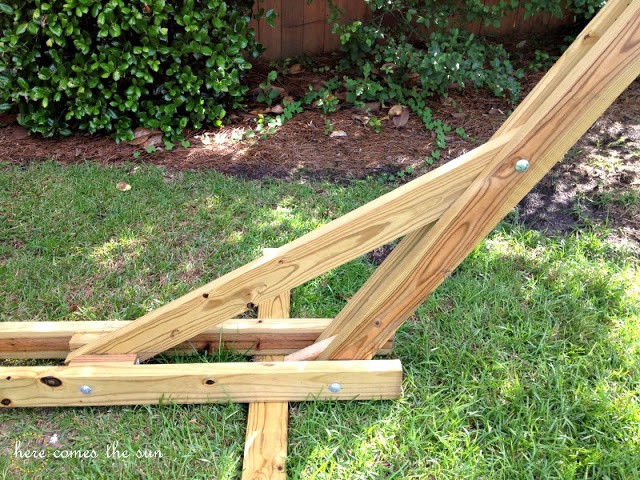
1. Lay two 8′ boards parallel to each other. With your paddle bit, drill a hole 6″ inches from each end.
2. On two other 8′ boards, drill holes 4″ from one end and line them up. Bolt through all 5 pieces of wood with a 12″ bolt and secure with a nut and washer. Don’t overtighten the bolts at this point because you need to be able to swivel the boards.
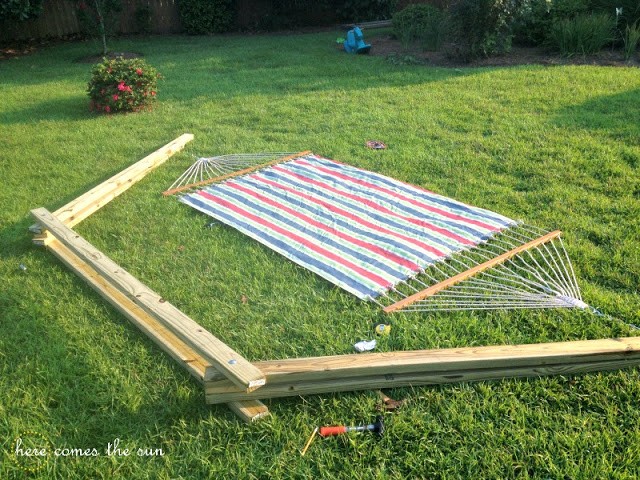
3. Lay out your hammock to determine what the angle of the boards need to be to fit your hammock.
4. You want the hammock to attach approximately 4′-5′ from the ground.
5. Use a template to get the same angle on each end. Our angle was 120.
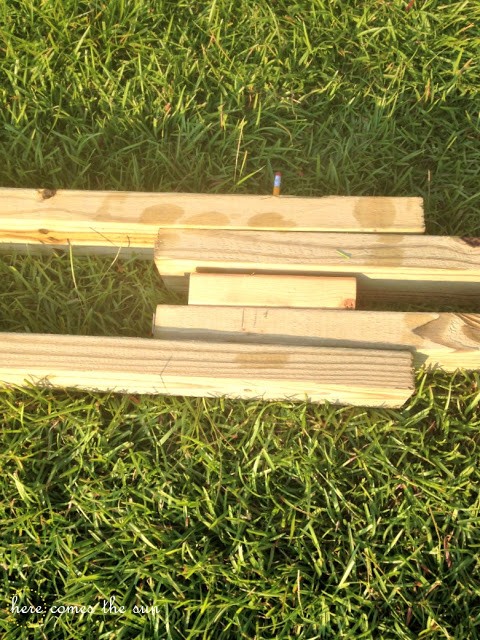
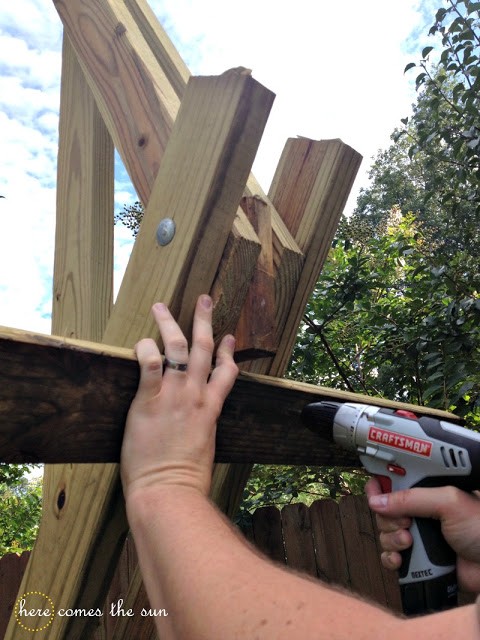
6. Once you get the angle you need, cut another 8′ board in half to make a brace at each end. Use 2 spacers for each brace and secure with 12″ bolts through the spacer and an 8″ bolt on the “arm”.
7. Cut an 8′ board in half for the legs. Screw the legs in with deck screws.
8. Put a 8″ bolt through both of the “arms” for hangers. The placement will depend on the size of your hammock.
9. Also install a spacer right below the hanger. Use deck screws to attach spacer.
this project is so easy that even a novice can follow it.
Once constructed this amazing hammock stand will provide hours of leisure for those rare afternoons when there is not yard work or other summer activities to do.
To see more about this project and to see other ideas, please visit Here Comes The Sun.
Sweet