Making your own glue is one of those skills that can really come in handy in the event of a survival situation.
Having a supply on hand in the event of a long-term survival incident ensures that when you need to bond something, even if store-bought glue is not available, you will be able to do so.
The process starts by taking some raw hide. Most dog bones are made of rolled up raw hide.
The hide will probably be very hard, so you can put it in boiling water to soften it up.
When it is soft, take it out and cut it into small pieces.
Put the small pieces back in the water and continue boiling it. The boiling will take hours, so you will have to periodically add more water so that the hide stays covered.
Then strain out the hide pieces. Continue to boil the remaining water to reduce it down.
There is no specific required thickness. The more water it has, the longer it will take to dry once applied.
To preserve the glue, pour it onto a flat surface.
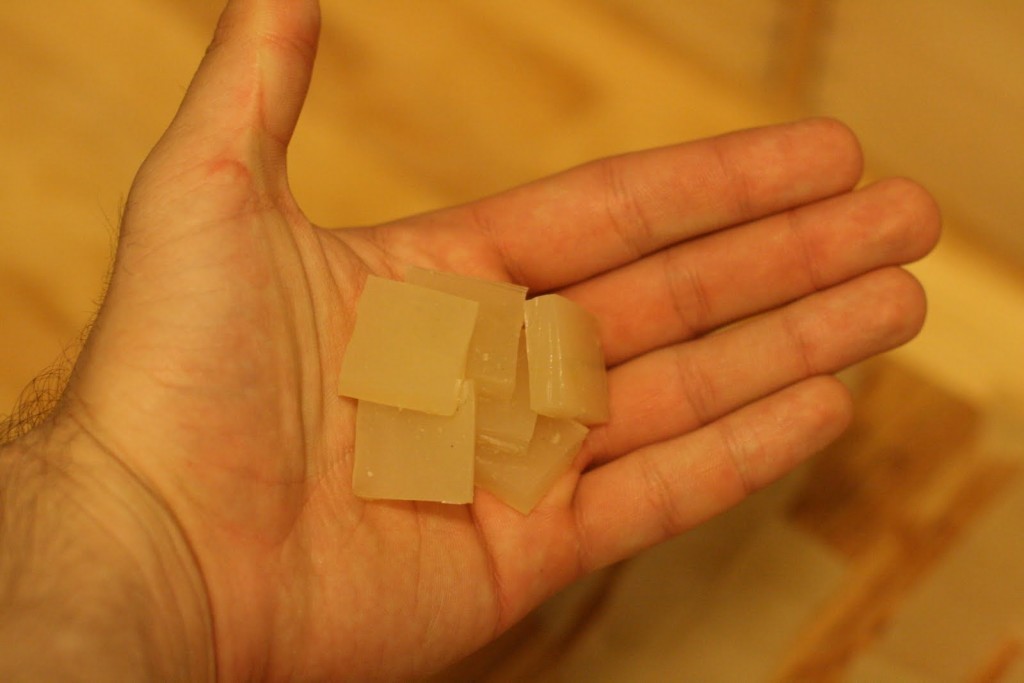
After about an hour, you should get a product which feels like rubber.
Cut it into smaller pieces and put it into a container.
To use the dried glue, just heat it up. You may want to add some water when heating it so it doesn’t burn.
Making your own glue is one of those skills that most of us have forgotten or never knew.
With rawhide from dog bones and a boiling process, you can create a long lasting glue that will bond just about to anything.
For other great ideas on practical survival skills, visit Survival Magazine.
Jace Hargrove Stephanie Holmes Watkins Charles Neil Prestwood