Jerky originated in South America, by most accounts and was known as Ch'arki, meaning “to burn meat.”
The earliest mention of it dates to the 1500's; in a survival situation, it is a great way to get the benefits of meat without having to expend a lot of time or energy cooking raw meat.
Making JERKY
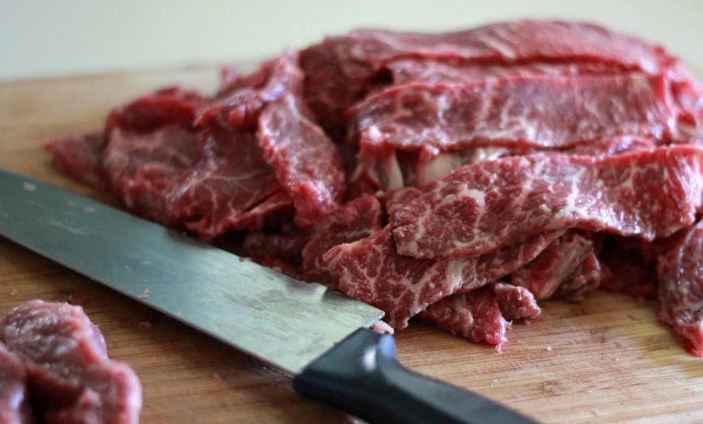
Meat for jerky is prepared from lean, trimmed strips about 1 1/2″ by 1/2″, and as long as practical. Normally the larger muscles are cut into jerky, and are cut with the grain rather than across it as for steaks. All tendons, gristle, fat, etc., that can be removed should be trimmed off. The meat strips are then lightly powdered with coarse, freshly ground pepper (if available) to keep away flies, and lightly salted to help with taste and salt craving. Once prepared, the pepper can be brushed off the iron like chucks easily, if desired.
The meat strips should be dried in the sun about four (4) feet above a slow fire.
Non resinous hardwoods should be used for the fire, and the flames kept very low. The smoke from the fire is to keep away birds and flies, NOT used for drying the meat! Use a low fire, with little flame or heat. Green hardwood works fine, but resinous softwoods such as Douglas fir will impart a bad taste to the jerky. Fruit woods (except wild cherry) impart a nice, mild taste to the jerky.
The drying rack can be made from forked sticks pounded into the ground, and the cross sticks that hold the meat made from thin, green wood such as willow or vine maple. A sharpened end on the cross stick should be pushed through one end of the meat strips, which will allow them to hang down. Allow at least an inch of separation between meat strips. The cross sticks may be carried indoors if rain threatens, and at night to protect from dew. Do not dry in the sun before 9:00 in the morning, or after 6:00 at night to avoid getting dew on the meat. Just the dew from a single morning may saturate the meat sufficiently to require an additional day of drying time!
Storing the JERKY
Once you’ve cooked the desired amount of jerky you can store it for later use.
Remember: Store all food away from light and at a constant temperature, avoiding extremes of hot or cold. Garages or attics are not good places to store food, unless you live in a mild climate. Dry basements are better; always put food storage containers on shelves or on bricks or boards so that they aren’t stacked on bare concrete. Put a label or sticker on the buckets that lists the contents and the date they were made.
Really hard jerky will keep for a long time, but should be stored in a dry place. If you live in an area of high humidity or frequent rains, the jerky can be stored using a number of ways:
1. Wrapping the jerky in waxed paper and dipping in wax. This is the easiest way, but may not be possible under primitive conditions.
2. Wrapping in cheesecloth, and dipping in suet. This is the “classical” method used by early expeditions to the west, the old U.S. Calvary, and mountain men.
3. Just dipping the jerky in melted suet. This is the least desirable method, but works.
4. Stuffing the jerky into cleaned, washed intestinal material from the meat source animal, then dip in suet. This method works well, but is more time consuming than the others.
Making jerky is not a difficult task, but you have to follow the guidelines closely or you will ruin your meat or prolong the drying effort.
Stored properly and cycled correctly (about every 2.5 months) will ensure you have a supply of jerky for food should a survival crisis emerge.
To learn some great jerky recipes, please visit Prepper's Will.
Featured Image via Prepper's Will
Mike Norton
Johnathan Grier
We make it all the time, my 6 yo son and i.. i aim to nurture survivalist behaviors, so they become second-nature later in life.
Steven Brown
Is pemmican gonna be available when shtf?