When SHTF, you'll still need to protect your family and put food on the table; even more so. Times will be tough and bullets will run out. That's why you need this lesson on how to build a quality bow from scratch.
HOW TO MAKE THE BOW:
1. Find your tree. Avoid weaker woods such as pine and willow in favor of hickory, oak, and maple. Look for a diameter of at least 8 inches, which will require less carving.
2. Cut and split the tree. An 8-inch tree provides six or seven bow staves. Leave enough room on the end of each stave to cut off roughly 6 inches, where the wood might have cracks. Leave the bark on to reduce cracking as the wood dries.
3. Let the wood dry. This typically takes at least three or four weeks but can be up to a year.
4. Debark your bow with a drawknife and mark the shape of the bow's broadside.
5. With a drawknife or band saw, refine the shape. Use a pocketknife to finish things off.
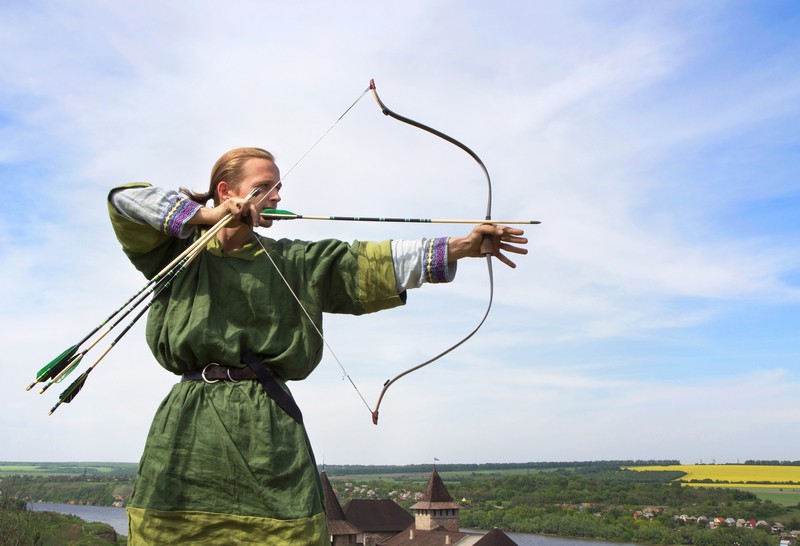
6. Lay the bow flat and taper the sides of the limbs with a drawknife. The middle 5 inches, which will be your grip, should be ¾ inch thick, tapering off to 1/2 inch when you reach the ends.
7. Use a chainsaw file to make string grooves at a 45-degree angle on the outside of both tips, about 1/2 inch from each end. On the bottom limb, make an extra set of grooves for the bow stringer, a separate string used to bend the bow for stringing.
8. Sand down the edges and tips and smooth the front and back surfaces.
9. Create a tiller tree to test your bow's flexibility. Vertically secure a 2 x 4 to the wall. Starting 5 inches from the top, make a horizontal notch with a Skilsaw every inch until you reach 30 inches. String the bow loosely with parachute cord, center it on the top of the tree, and slowly move the string down the notches until it reaches the 28-inch mark, a typical full draw. At each step look for unevenness in the bend of the limbs.
10. Shorten the parachute cord to make a small bend in the bow (5 inches between the bow center and the string). Repeatedly draw the bow in a mirror to see which side remains slightly stiffer. The stiffer limb will be your lower limb. Once you identify it, use a sander to create a shallow indentation above the handle to the right or left, depending on which hand you use to shoot, for the arrow.
11. Sand and finish the bow.
12. Once the bow has been stained, dried, and sealed, wrap the 5 inches of handle with hemp cord using a whipping technique. Apply a light coat of glue, such as Titebond III, and let dry.
13. Create your final bowstring using a new length of B-50 bowstring material.
Of course, you can customize your bow however you wish. If you want it to be a different color, you can stain the wood, or you can customize the bow string with feathers much in the way of the Native Americans, which will also make the bow much quieter.
Now, this lesson won't work if you're stranded in the forest and you need a quick bow– this build requires aged and dried lumber–but it's definitely something worth working on if you have the time.
For more on this build, read more at Popular Mechanics.
Tristan Bailey
Harold Lee Ray Jr.
Kyle Watson
Traci
Already own a Mathews 😉