Smoking meat in a survival situation or in the wild is one way of preserving meat for an extended period of time.
Here is one kind of basic smoker that is easy to construct and very reliable, using just what nature makes available to you.
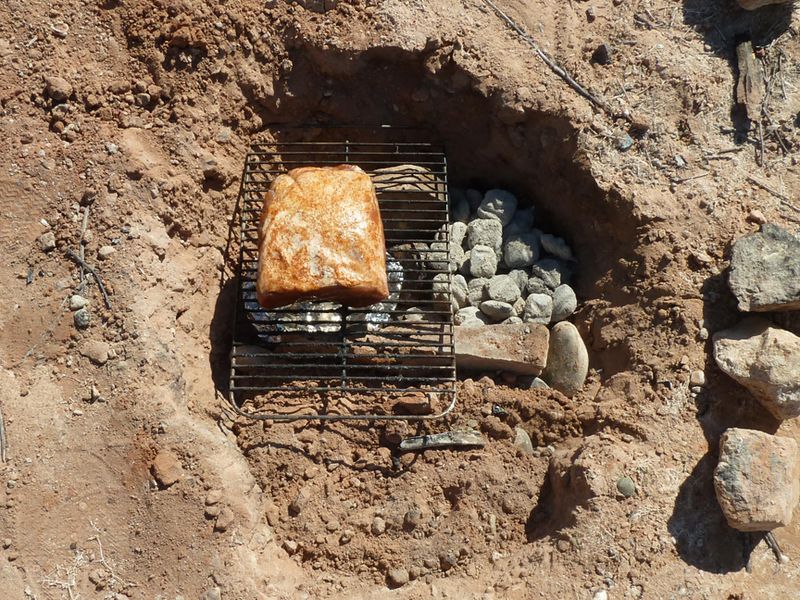
Hole Smoker
The first step is to dig a hole that is about three feet deep and 18-24 inches wide at the bottom. You want to widen the sides of the hole on an angle so that it is about three feet in diameter at the top. This enables you to put more meat in the smoker while still using a smaller fire. Once the hole has been dug, you need to make grates out of sticks for the pieces of meat.
You want to make two grates, one smaller for the bottom, and one larger for the top. The smaller grate should rest about 18 inches above the fire and the larger one should rest about 6-9 inches from the top.
The two grate system will allow you to position more meat in the smoker while giving you the chance to hang longer pieces from the top.
Fill the bottom of the pit with your fuel and light the fire. Let it burn until most of the wood is glowing red. Add green sticks, leaves and other moist material to get the smoke going. Remember the aim is not to cook the meat quickly, but to let the warm smoke cure the items over time. You need to tend to the fire periodically by adding more fresh, green sticks to k
eep producing smoke.
Add the grates and the meat once you have started the smoking process, and cover the pit with leaves, brush and other debris so that it traps most of the smoke while providing enough oxygen to maintain the process.
A smoker in a survival situation is one more critical tool to helping you feed yourself. It also lets you preserve meat that otherwise would spoil, particularly if you in a warmer climate.
To see plans for another type of smoker that is easy to make and “natural,” visit 101 Ways to Survive.