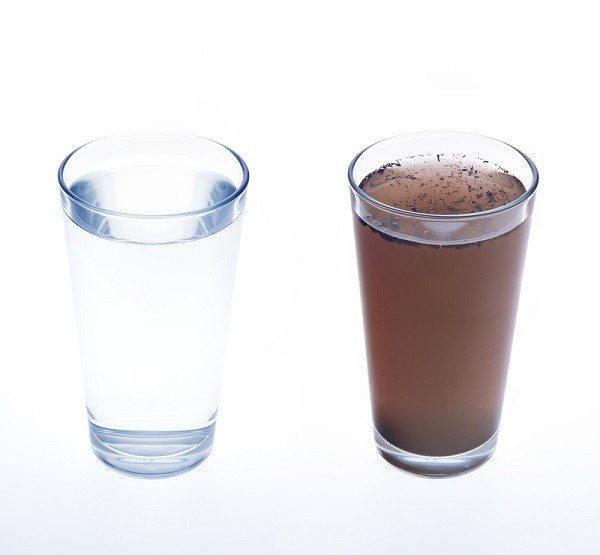
You're one step closer to building a water filter that will help protect you from harmful germs found from water in nature. That's not to say all water found in nature is bad. But let's put it this way: are you willing to gamble your health on your ability to judge whether the water you see in a river is safe to drink? We certainly wouldn't.
How To Build an Efficient Water Filter:
There are several ways of going about this, but the way I like to do it is by using plumbing fittings between the stages of the filter. By using a fitting, you can have better control over the water flow and help make sure that the materials don’t migrate from one bucket to the next.
- The fitting that is going to go on the inside of the bucket needs to have fiberglass screen stretched over it. That can be held in place with a rubber band or O-ring. However, gluing it makes it more secure.
- Cut a hole in the bottom center of two buckets, which is the right diameter for the threaded part of the fitting to go through. Cut the same size hole in the side of the third bucket, which is just above the bottom.
- Attach the fittings together, with the bottom or side of the bucket between them. The screened side of the fittings should be up. Use an O-ring between the fittings to create a seal.
- For the bottom bucket, the one that has the fitting through the side, you may want to add a valve, an angled fitting or a fitting with a flexible tube for the outlet. Whichever you choose should allow you to have the filtered water go into a fourth bucket, pitcher or other container.
- Cut a hole in the center of the lids for two of the buckets, which is slightly larger than the fitting. You don’t need a tight fit here, rather one that will make it easy to stack your buckets.
- To protect the screen from the weight of the sand and gravel, put a cover over it. The easiest way to make this cover is with some small plastic cups. Drill a number of holes in the sides of the cups, so that the water can get through. Then glue the cup upside-down over the fitting.
- Before putting your gravel, sand and activated charcoal in the filter, it needs to be rinsed thoroughly to remove all dirt and silt. When you can put on these materials, without any dust fogging the water, then it is rinsed thoroughly enough.
- You will need to fill each bucket 2/3 to 3/4 full of the filter materials. The activated charcoal goes in the bottom bucket, which should be the one with the fitting on the side. Put one of the lids with the hole in it on this bucket. Set the bucket for the sand on top of it, and the bucket for the gravel on top. The top bucket’s lid does not need any hole in it. A plain lid can be used to keep any debris from falling into this bucket.
We found this awesome DIY on Off the Grid News! For more tips on water filtration, be sure to check them out!
Because this filter is so small, it would be wise to make a few of them at the same time and store them in places where you feel they could be used best. For example, placing one in your Bug-Out-Bag would be a helpful in an emergency. You could also benefit from having one in the clove box of your car, or in the pocket of your go-to camping windbreaker. Be creative! Just think of items you use frequently (car, bike, backpack, etc) and place them wherever you deem fit.