In extreme weather, depending on the type, you have about three hours from the time you are faced with a survival situation until you have secured your shelter in order to survive.
This reality makes it critical that you find the right place for a shelter – and how to build it – the first time as you may not get a second chance!
Natural Shelters in All Seasons
Caves
Caves have the advantage of being ready-made shelters, but their disadvantages are significant. In particular:
• Your shelter does not help you get rescued because no one can see it.
• Rock walls absorb heat so will make staying warm much more difficult (and require more energy expenditure).
• Caves are usually already occupied by wildlife, some of it bigger than you.
• Caves tend to be damp and moldy, which makes staying warm and dry more difficult and increases the risk of infections for open wounds.
• Consider building a better shelter if you are staying put. As transient shelter, caves may be adequate.
• A lean-to of branches can be added to break the wind. Be cautious of caves or recesses surrounded by animal feces or tracks, and always be careful of snakes when first entering.
• Some caves are very deep and may have many twisting passages. Stay near the entrance or leave well-marked trails.
Rock Shelters
• Rock shelters are really just windbreaks but may be helpful on open beaches or in some desert areas.
• Build a rock shelter by stacking rocks into a U-shaped wall at least two feet high. Sleep against the inside of the wall. Build your fire in the mouth of the U.
90 Degree Shelter• The 90 Degree shelter can be built anywhere a 90º angle can be found. This includes bluffs above treeline, large boulders in the woods, and fallen trees.
1) Locate an object with an approximate 90º angle between the ground and the back wall.
2) If the ground is soft, create a shallow pit the size of your body at the corner of the angle.
3) Line the pit with branches or bark slabs.
4) Build a fire next to the pit so that you lie in the pit between the fire and the log.
The maximal heat from such a fire is located at the corner of the 90º angle.
• Leafy branches leaned over the pit will add additional protection.
• Wind breaks can be built at each edge of the angle to funnel wind away from you and the fire.
Mild Weather Shelters
• In warm or mild weather it may not be worth the time or energy to build a real shelter. In this case a number of fast and excellent options exist.
• Carefully tended, very small fires will safely warm any of these shelters.
• All of these will insulate better if roofed over with a space blanket (shiny side down) or plastic.
Short-Term Mild Weather Shelters
The easiest may be the low-hanging tree. Many large pines drape their branches almost to the ground, and under these lowermost branches you are relatively safe from wind and rain. They also tend to have a comfortable layer of needles already there.
Next is the space blanket shelter, made by hanging one cross-pole or rope from trees or rocks. Hang the space blanket over the cross-pole and tie each corner to the ground (or weight it with rocks). A quick, easy, and warm shelter. A tarp or your sheet of plastic (if not being used for water collection) will work in place of the space blanket.
A tube tent can be formed out of two garbage bags with the bottom of one bag split. The split bag is slid over the open end of the unsplit bag. The tent can be propped open with padded sticks or hung on a line run through the bags and tied to two trees. The tube tent can also be used without support just by crawling into it.
Leaning pine branches against a tree trunk, tree branch, or rope strung between two trees will also work. This is the classic lean-to. To ensure good shedding of rain, remember to build the ceiling at a 45º angle and pack the ceiling with at least three inches of leafy branches or, better yet, cover it with a plastic sheet.
Long-Term Mild Weather Shelters
• If you are not traveling and need a longer term shelter, the above shelters will still work very well. Just insulate them more thoroughly and fortify them against the wind by lashing everything together with fish line or cord.
The Wickiup (for Individuals or Small Groups)
• This is a quick, easy, and very good long-term shelter for one or two people.
• This is a tepee-shaped lean-to, which can be built on open ground around a tree or using fallen trees for support.
1. Lean tree limbs, branches, or large leaves against each other to form a cone shape.
2. Pile leaves, brush, dirt, bark, snow, or grass around the bottom and up the sides to the top, leaving an entrance at 90° to the prevailing wind.
3. Lean more branches against this insulation to keep it in place.
4. Break off or pull out any leaves or branches cluttering the inside. Your shelter is done.
The A-Frame (for Groups)
If you have a large number of people or want a more comfortable place to stay, try an A-frame:
1. Construct your A-frame so that the prevailing wind strikes a back corner first.
2. First place your roof cross-pole. This may be leaned against a tree or rock, hung between two of these, or supported by two poles planted into the ground.
3. Tie sticks to each side of the cross pole so that they lean at a 60° angle to the ground.
4. Next find wall materials. These may be bark, downward-pointing pine boughs, bundles of grass, or large tree or plant leaves.
5. Start with the bottom row. Lay a single row of the material packed as tight as possible and tied to the angled sticks.
6. Lay the rest of the rows, moving upwards. Wall material should be layered so that each bundle or section is overlapped by the bundle or section above it.
7. Wall all but one end of the A-frame.
8. Fill in gaps and leaks and put on a second layer if needed to prevent leaks. Put as much wall material on as you must to keep out the wind and rain and hold in heat. If you can see light through the wall it probably needs more insulation.
9. Build your fire outside the open end of the A-frame, with a heat-reflecting rock or log on the other side of the fire if the weather is chilly.
• A space blanket or more branches should be hung over the entrance on chilly nights unless the fire is going.
Unless you are in a “controlled” survival situation (you know how to get out of it within a reasonable time frame), shelter has to rank as your top priority.
Without it, you are exposed to the elements and that can be deadly.
That is why you must know where and how to construct a shelter from the materials you have on hand; to learn more about shelter construction and tips, please visit Mother Earth News.
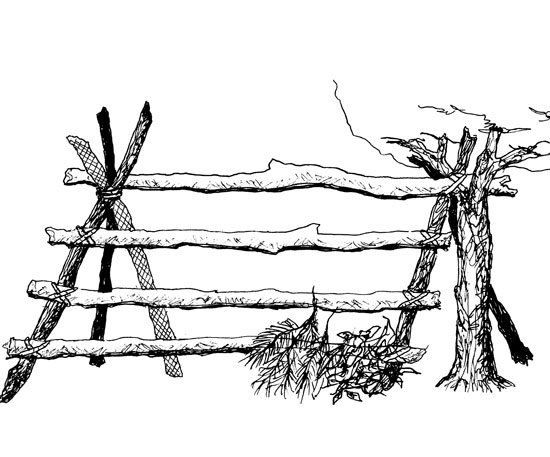
Featured Image via The Extreme Survival Almanac, published by Paladin Press, 2002
Looks like always carry a chainsaw.
Some polebarn spikes
He’ll just bring the damn skidder
Live better tie nothing up with cord it’s a damn weak bunch of s**t
Jayne Keedan
Corey Canna Millard